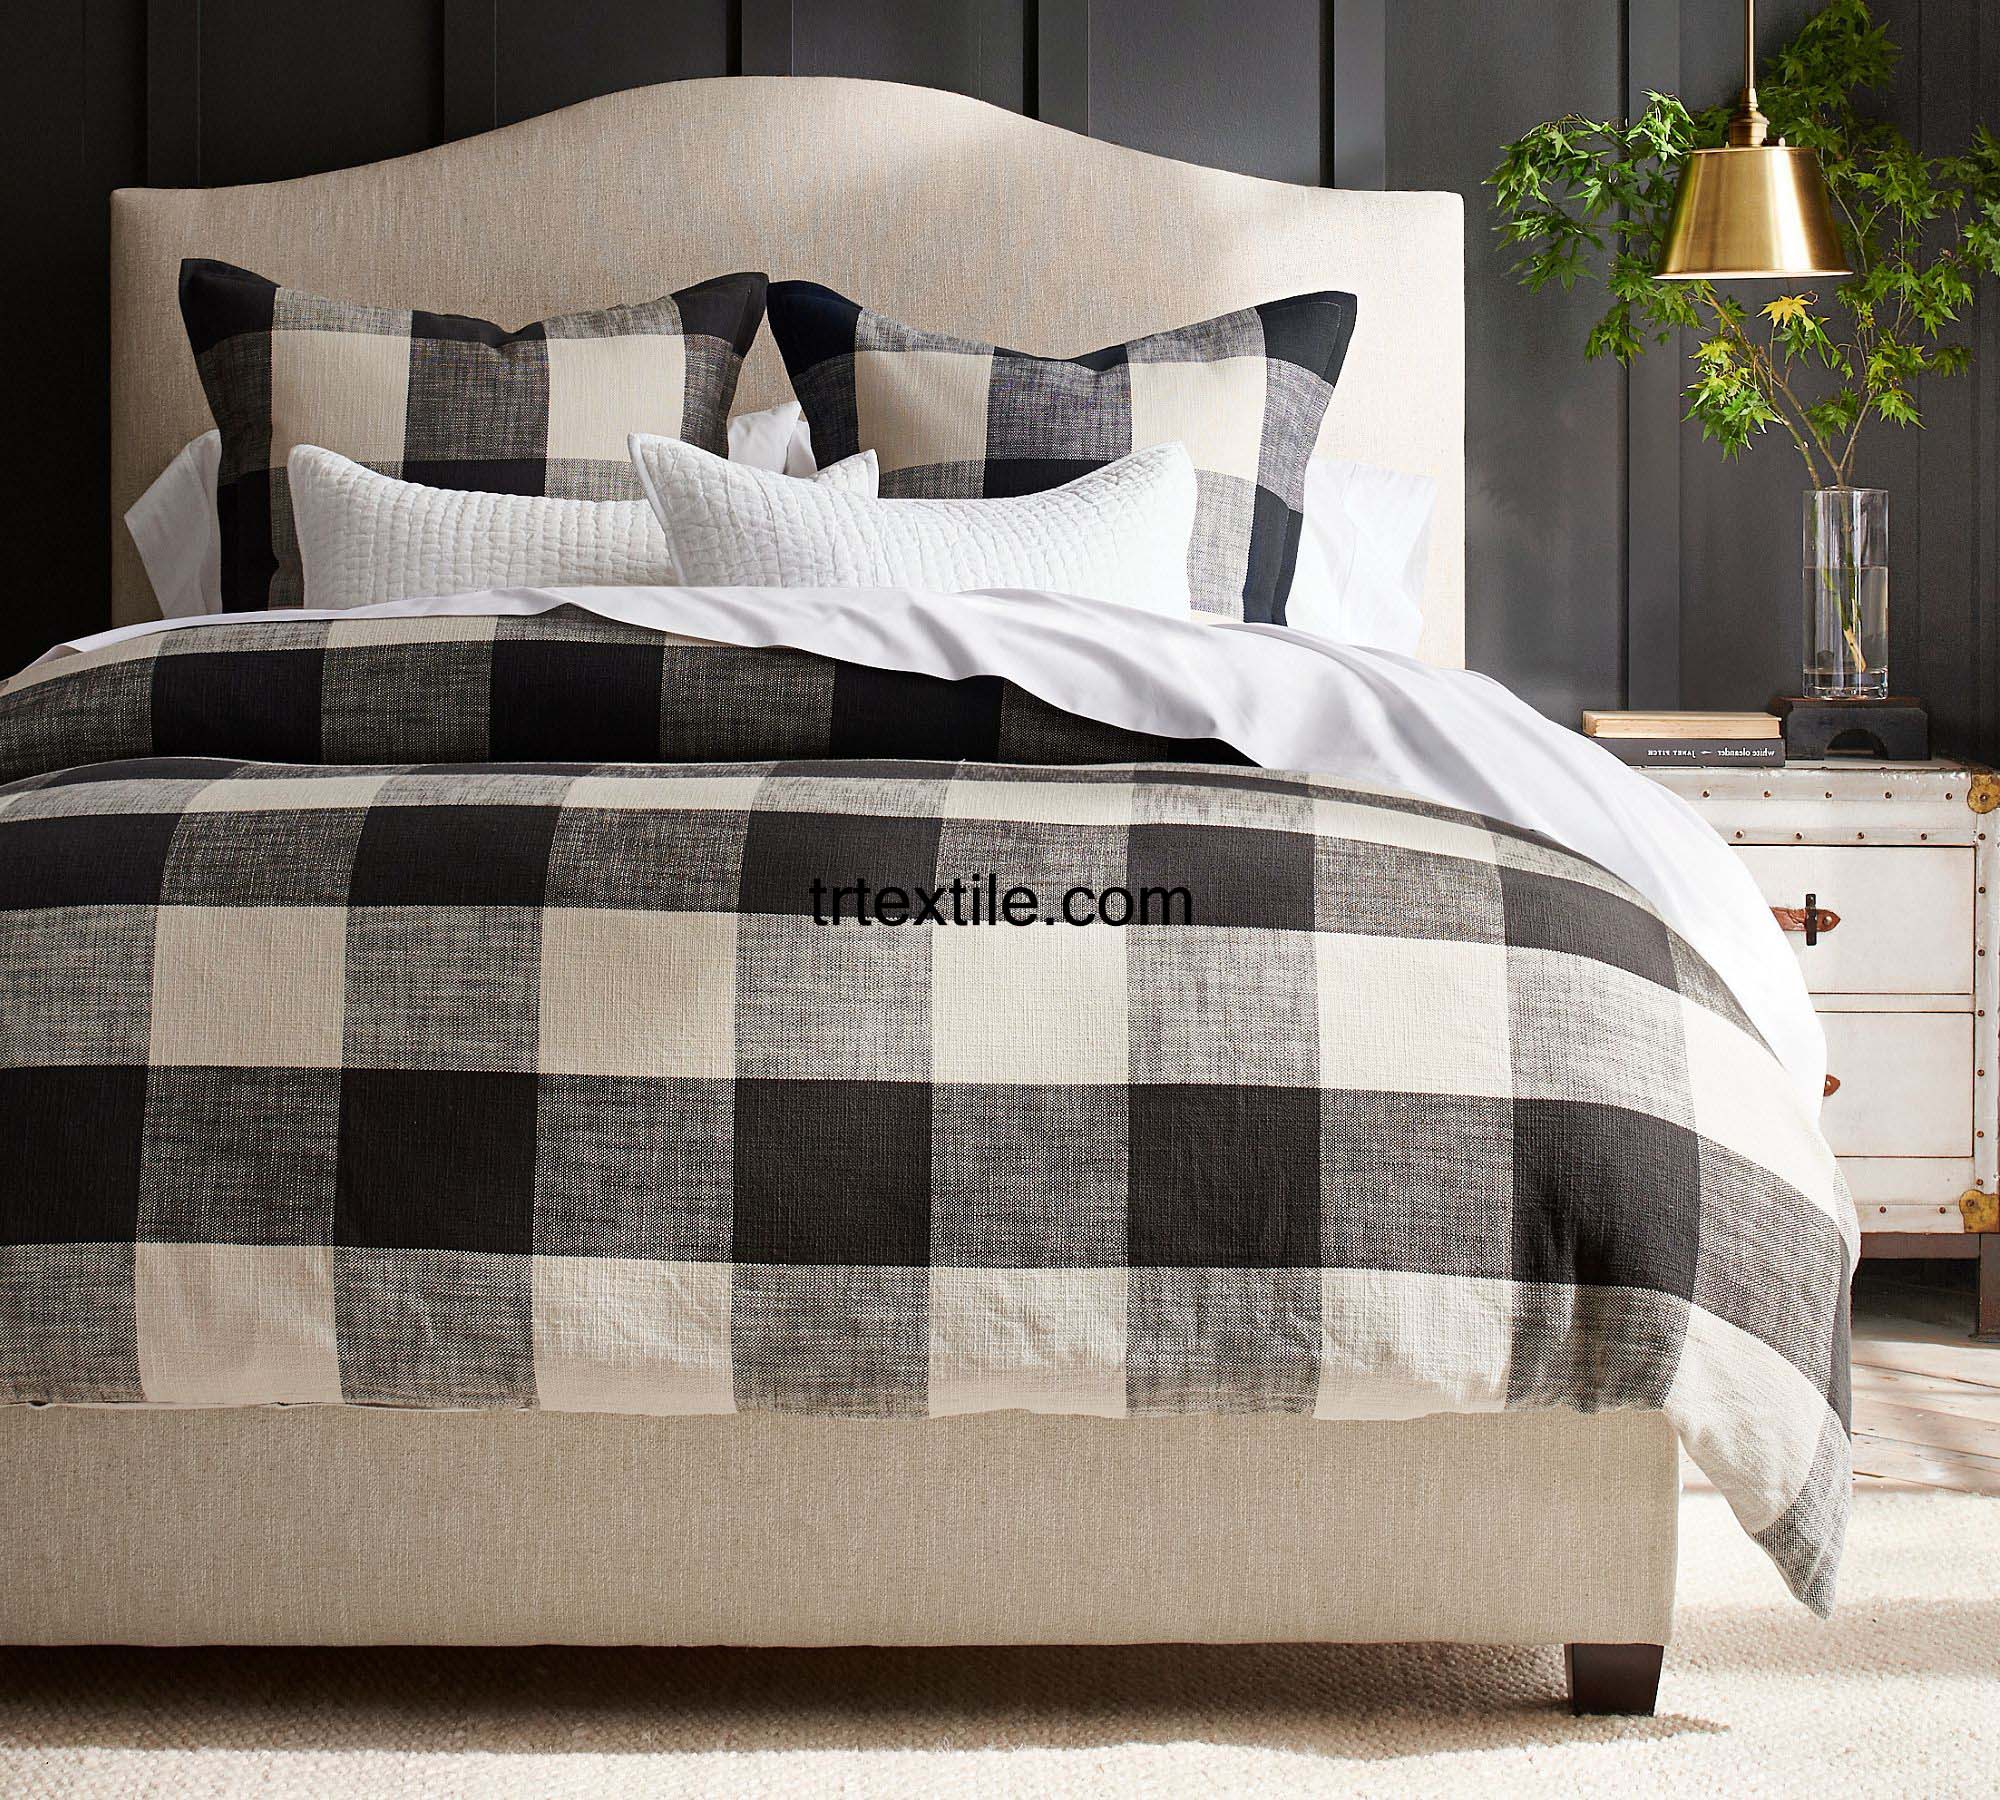
Duvet cover sets are a popular choice for bedding, offering a stylish and convenient way to update the look of your bedroom. With so many different styles and designs available, it can be overwhelming to choose the perfect set for your home. However, if you’re feeling crafty and want to try your hand at sewing your own duvet cover set, model 9 is a great option to consider.
Model 9 is a simple and classic duvet cover set design that is easy to sew, making it perfect for beginners or those looking for a quick and fun DIY project. This set typically includes a duvet cover and two pillow shams, all of which can be customized to suit your personal style and preferences.
To get started on sewing model 9 duvet cover set, you will need the following materials:
– Fabric for the duvet cover and pillow shams: Choose a high-quality fabric that is soft and durable, such as cotton or linen. You will need enough fabric to cover the size of your duvet and pillows, plus extra for seam allowances.
– Matching thread: Make sure to choose a thread color that complements your fabric choice.
– Sewing machine and basic sewing supplies: You will need a sewing machine with a straight stitch and zigzag stitch capabilities, as well as basic sewing supplies like scissors, pins, and a measuring tape.
Once you have gathered all of your materials, you can begin sewing your model 9 duvet cover set by following these simple steps:
1. Measure and cut your fabric: Start by measuring your duvet and pillows to determine the size of fabric you will need. Add extra inches to each measurement for seam allowances. Cut out the pieces for your duvet cover and pillow shams accordingly.
2. Sew the duvet cover: With right sides facing, sew the top and bottom pieces of fabric together along the sides and bottom edge, leaving the top edge open. Finish the seams with a zigzag stitch to prevent fraying.
3. Create the pillow shams: Sew together the front and back pieces of fabric for each pillow sham, leaving one side open for inserting the pillow. Finish the seams with a zigzag stitch.
4. Add closures: Depending on your preference, you can add closures to your duvet cover, such as buttons, snaps, or a zipper. Sew the closures in place along the open edge of the duvet cover.
5. Finish the edges: To give your duvet cover set a polished look, finish the edges with a rolled hem or bias tape. This will help prevent fraying and give your set a professional finish.
Once you have completed these steps, your model 9 duvet cover set is ready to use! You can now enjoy your handmade bedding and show off your sewing skills to friends and family. Feel free to experiment with different fabrics, colors, and designs to create a one-of-a-kind duvet cover set that reflects your personal style.
In conclusion, sewing your own duvet cover set using model 9 is a fun and rewarding project that allows you to customize your bedding to suit your tastes. With just a few basic sewing skills and materials, you can create a beautiful and stylish duvet cover set that will add a personal touch to your bedroom decor. So why not give it a try and start sewing your own model 9 duvet cover set today?


