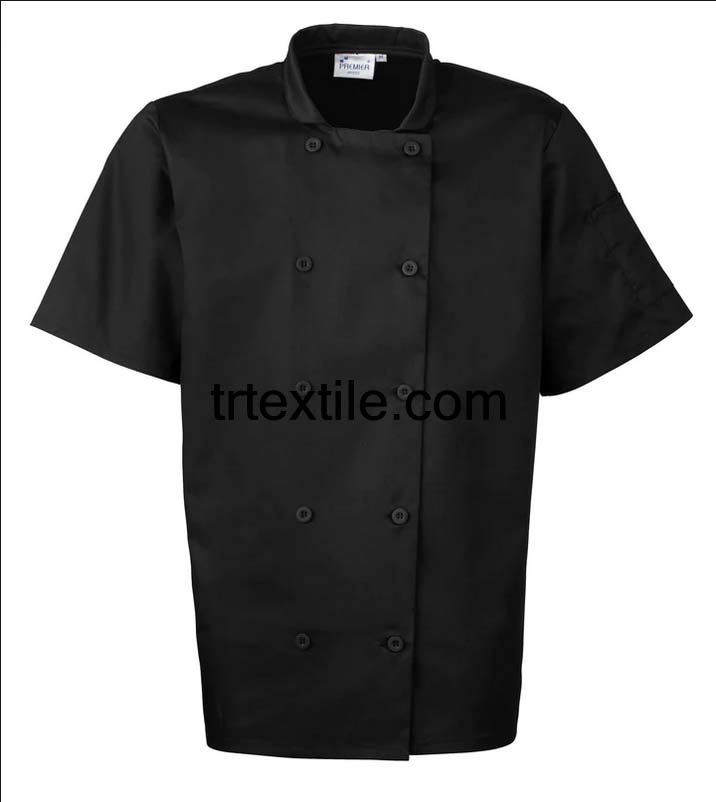
Chef aprons are an essential piece of attire for any chef or cook in the kitchen. Not only do they protect clothing from spills and stains, but they also add a professional and polished look to the overall appearance of the chef. If you are looking to sew your own chef apron, consider using model 2, which is a classic and versatile design that is easy to customize to your liking.
Model 2 of the chef apron sewing pattern features a simple and functional design that is perfect for both beginner and experienced sewers. The apron is typically knee-length with a bib at the top to protect the chest and torso from spills and splatters. It also has long ties that wrap around the waist and can be tied in the front or back, depending on personal preference.
To get started with sewing your own chef apron using model 2, you will need a few basic materials and tools. These include:
– Fabric: Choose a durable and easy-to-clean fabric such as cotton, canvas, or denim for your apron. You can also opt for a fun and colorful pattern to add a pop of personality to your apron.
– Thread: Use a heavy-duty thread that matches the color of your fabric for a seamless finish.
– Scissors: Sharp scissors are essential for cutting out the fabric pieces accurately.
– Pins: Pins will help keep the fabric pieces in place while sewing.
– Sewing machine: A sewing machine will make the sewing process quicker and easier, but you can also sew the apron by hand if you prefer.
Once you have gathered all the necessary materials, you can start sewing your chef apron using model 2. Follow these simple steps to create your own custom apron:
1. Cut out the fabric pieces according to the pattern instructions. You will need a front piece for the bib, a back piece for the main body of the apron, two long straps for the ties, and a pocket if desired.
2. Hem the edges of the fabric pieces to prevent fraying. Fold the edges over twice and stitch them in place using a straight stitch on your sewing machine.
3. Attach the bib piece to the main body of the apron by sewing along the top edge. Make sure to leave enough space for the neck opening.
4. Sew the straps to the sides of the apron, ensuring they are evenly spaced and securely attached.
5. Add a pocket to the front of the apron if desired. You can customize the size and placement of the pocket to suit your needs.
6. Finish the apron by pressing the seams with an iron to create a clean and professional look.
Once you have completed these steps, your chef apron using model 2 is ready to wear in the kitchen. Feel free to personalize your apron with embroidery, patches, or other embellishments to make it truly unique to you.
In conclusion, sewing your own chef apron using model 2 is a fun and rewarding project that allows you to create a practical and stylish accessory for your culinary adventures. With a few basic materials and some sewing skills, you can customize your apron to suit your personal style and needs. So why not give it a try and unleash your creativity in the kitchen!


