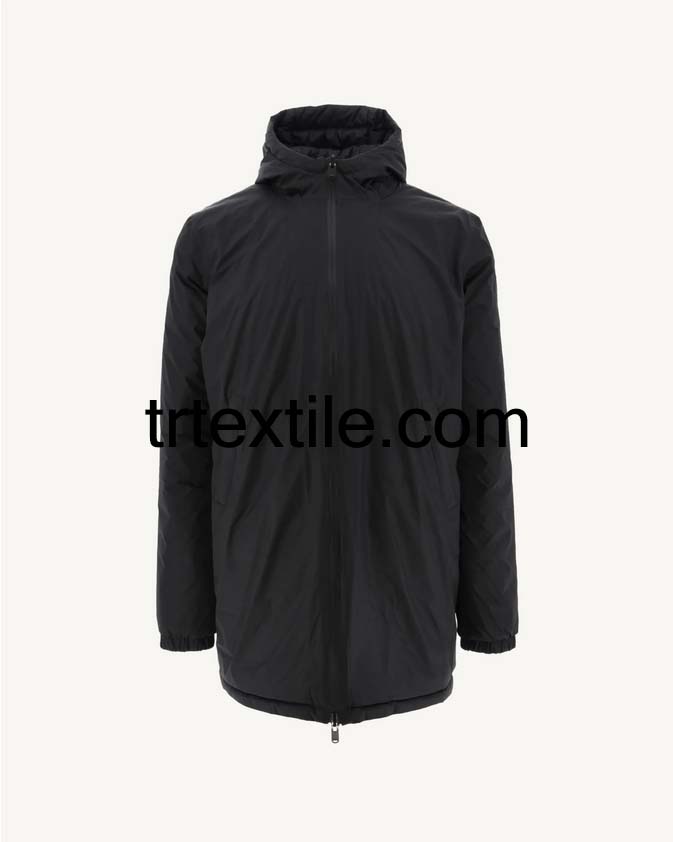
Coats are an essential part of any wardrobe, providing both warmth and style during the colder months. Whether you prefer a classic trench coat, a cozy wool overcoat, or a trendy puffer jacket, there are endless options when it comes to choosing a coat that suits your personal style.
If you’re someone who loves to sew and create your own clothing, why not try your hand at making your own coat? Sewing your own coat can be a rewarding and enjoyable experience, allowing you to customize the fit, fabric, and design to your liking. In this article, we’ll explore the process of sewing a coat using Model 3, a popular coat sewing pattern that is perfect for beginners and experienced sewers alike.
Model 3 is a versatile coat pattern that can be adapted to create a range of different coat styles, from tailored blazers to cozy winter coats. The pattern includes detailed instructions and step-by-step illustrations to guide you through the sewing process, making it easy to create a professional-looking coat at home.
To start sewing your coat using Model 3, you’ll need to gather all the necessary materials and supplies. This includes fabric, lining fabric, interfacing, thread, buttons or closures, and any other notions required for the specific coat style you’re making. You’ll also need a sewing machine, scissors, pins, and a tape measure to take accurate measurements and cut your fabric.
Once you have all your materials ready, you can begin by cutting out the pattern pieces according to your size and desired coat style. Be sure to follow the cutting lines carefully to ensure that your coat will fit properly once it’s sewn together. Next, you’ll need to transfer any markings from the pattern pieces to your fabric using tailor’s chalk or a fabric marker.
After cutting out your fabric pieces, you can start sewing the coat together following the instructions provided in the pattern. This typically involves sewing the front and back panels together, attaching the sleeves, sewing the lining, and adding any finishing touches such as pockets, buttons, or a collar. Be sure to press your seams as you go to create a professional finish.
As you sew your coat, take your time to ensure that each step is done accurately and neatly. Pay attention to details such as matching seams, easing in sleeves, and finishing raw edges to create a polished look. If you run into any difficulties or have questions along the way, don’t hesitate to consult the pattern instructions or seek help from online sewing resources or forums.
Once your coat is sewn together, try it on to check the fit and make any necessary adjustments. You may need to shorten or lengthen the sleeves, take in the waist, or make other alterations to ensure that your coat fits you perfectly. With a bit of patience and practice, you’ll soon have a beautiful handmade coat that you can proudly wear and show off to others.
In conclusion, sewing your own coat using Model 3 is a fun and rewarding project that allows you to create a personalized garment that fits your style and preferences. With the right materials, tools, and instructions, you can successfully sew a coat that looks and feels like it was professionally made. So why not give it a try and start sewing your own coat today?


