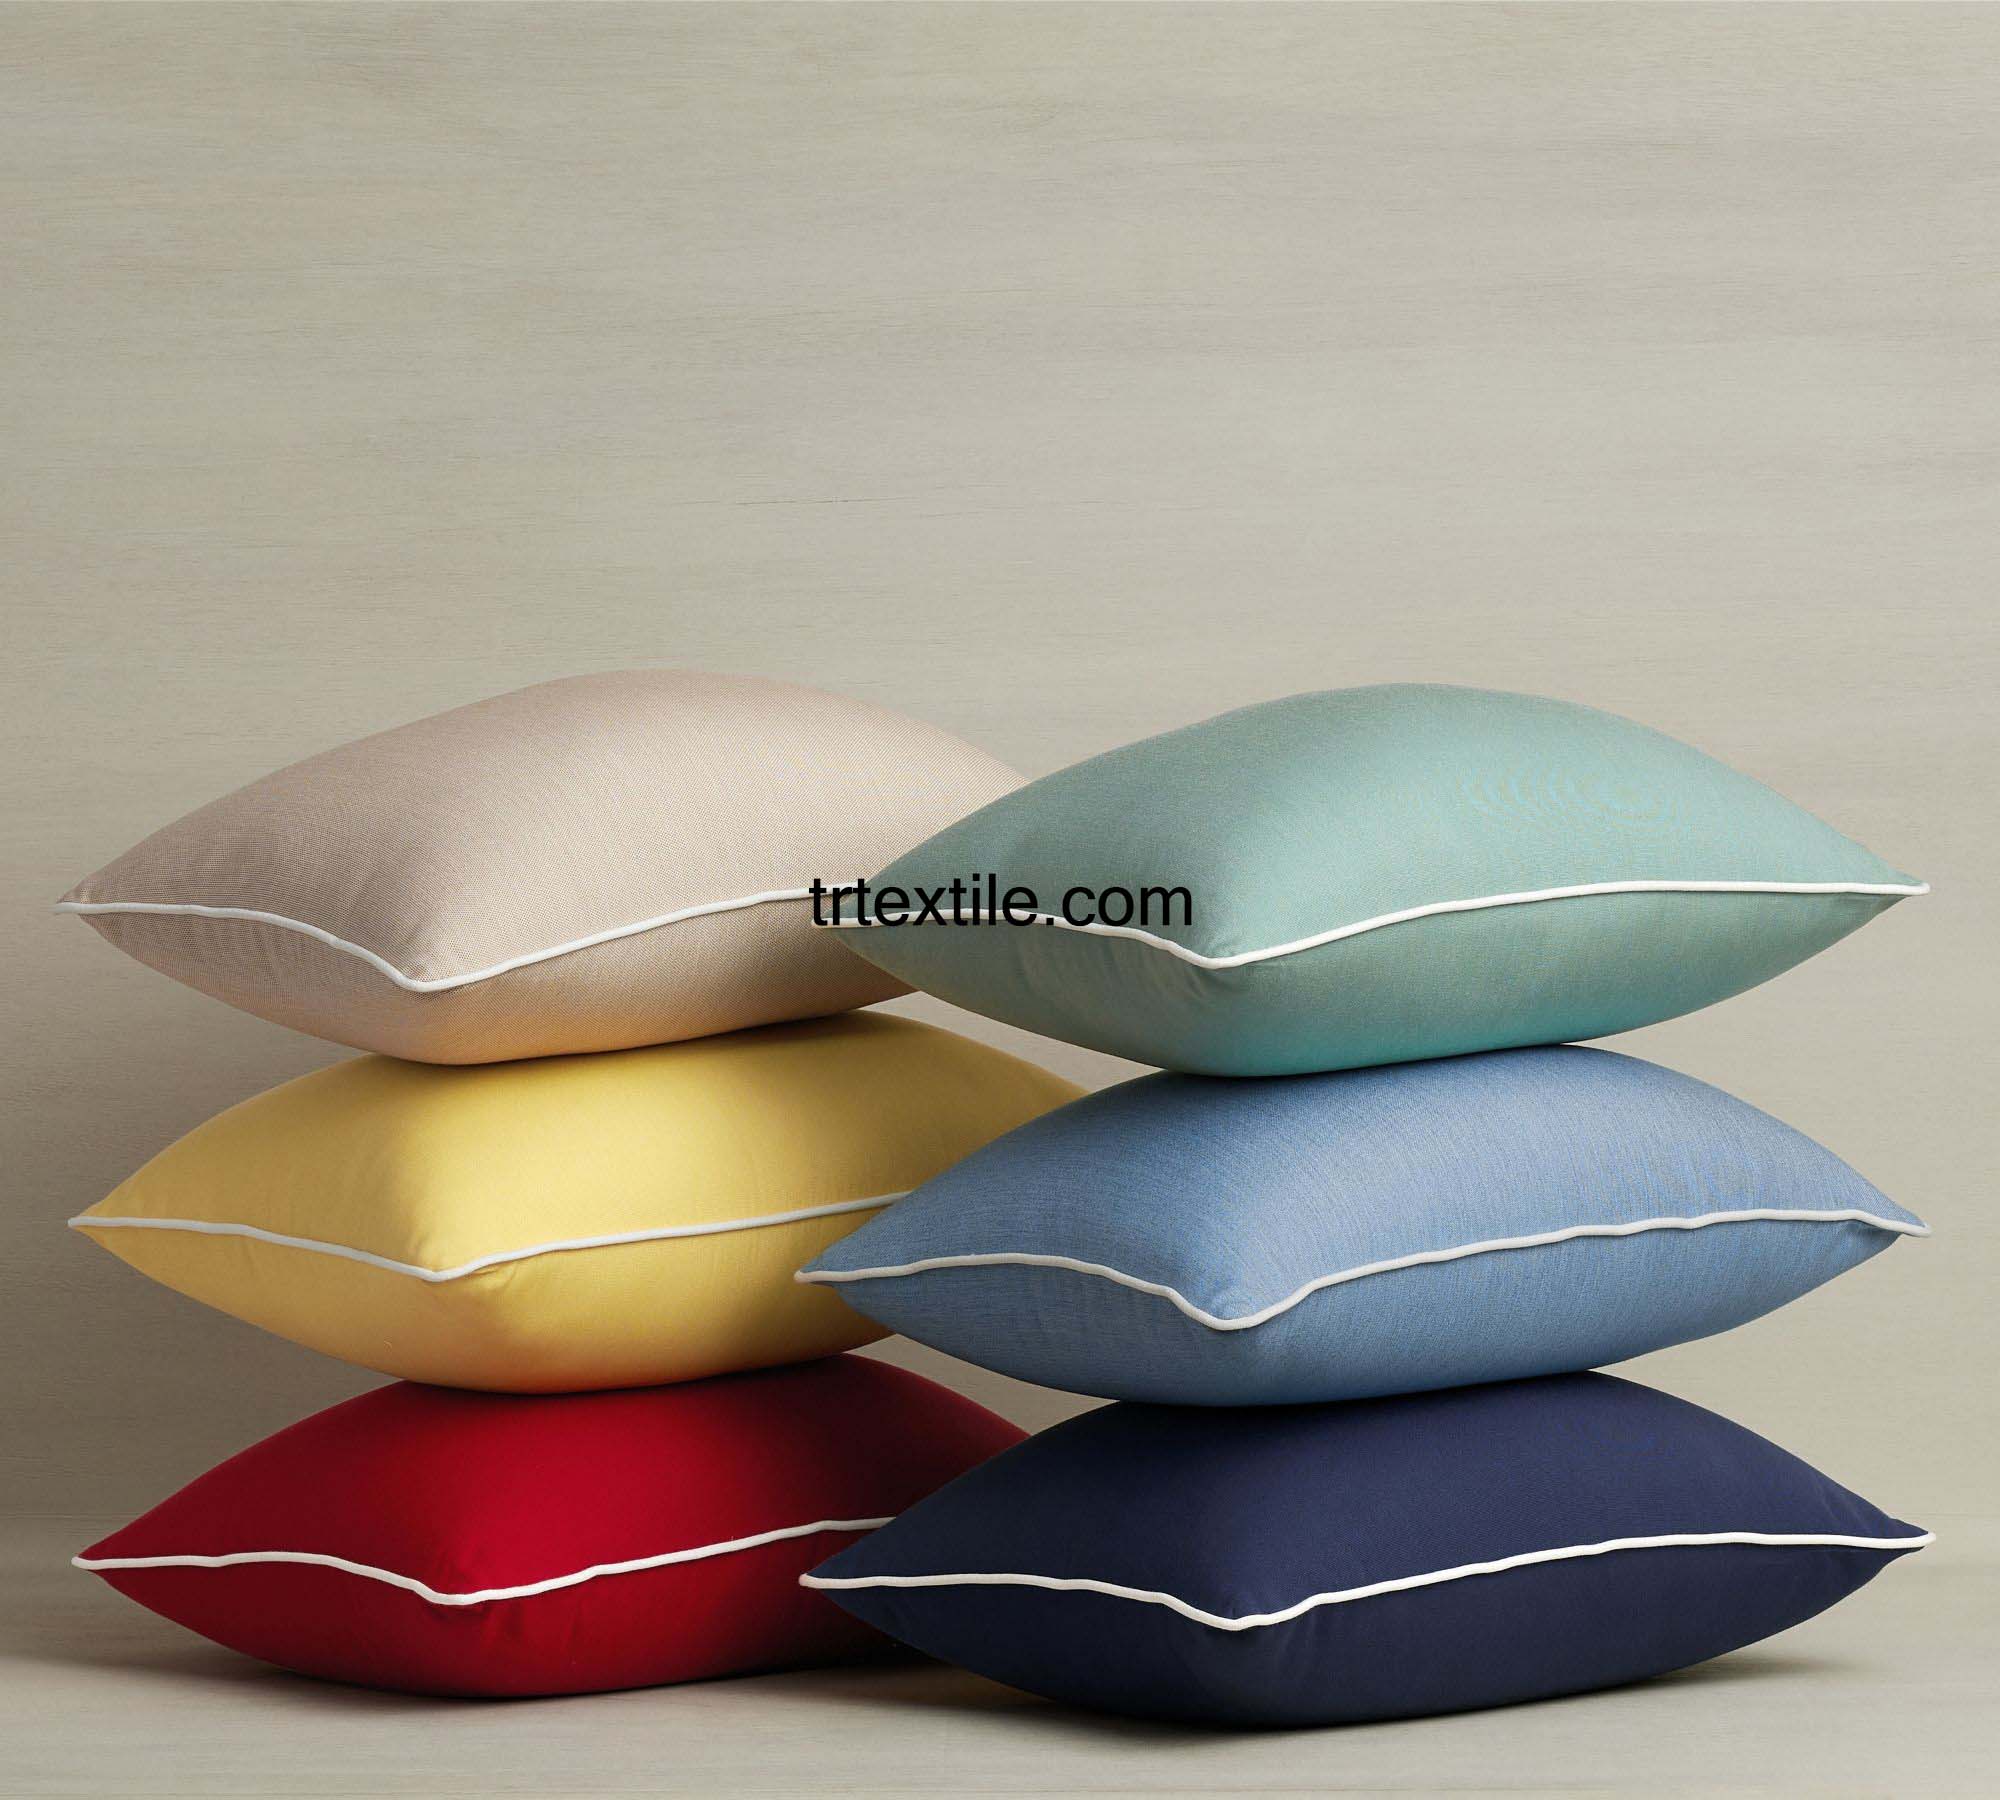
Pillowcases are a simple and fun sewing project that can add a touch of personality to any bedroom decor. Whether you’re a beginner or an experienced sewer, sewing your own pillowcases can be a rewarding and enjoyable experience. In this article, we will discuss how to sew a pillowcase using Model 13, a popular and versatile sewing pattern.
Model 13 is a classic pillowcase design that features a simple envelope closure at the back. This style is perfect for beginners as it doesn’t require any zippers or buttons, making it a quick and easy project to complete. The finished pillowcase measures approximately 20 inches by 30 inches, making it suitable for a standard size pillow.
To get started with Model 13, you will need the following materials:
– 1 yard of fabric for the main body of the pillowcase
– 1/4 yard of coordinating fabric for the cuff
– Matching thread
– Sewing machine
– Scissors
– Iron and ironing board
Step 1: Cut your fabric
Begin by washing and ironing your fabric to remove any wrinkles. Then, cut two pieces of fabric for the main body of the pillowcase, each measuring 21 inches by 31 inches. Next, cut one piece of fabric for the cuff, measuring 9 inches by 31 inches.
Step 2: Prepare the cuff
Fold the cuff fabric in half lengthwise, with right sides facing out, and press with an iron to create a crease. Then, unfold the fabric and place it right side up on a flat surface.
Step 3: Attach the cuff to the main body
Lay one of the main body fabric pieces right side up on top of the cuff fabric, aligning the raw edges along the top edge of the cuff. Pin the layers together along the top edge.
Next, lay the second main body fabric piece right side down on top of the first piece, sandwiching the cuff between the two layers. Pin the layers together along the top edge.
Step 4: Sew the pillowcase
Using a 1/2 inch seam allowance, sew along the pinned edge of the pillowcase, backstitching at the beginning and end to secure the stitches. Trim the seam allowance to 1/4 inch and press the seam open.
Step 5: Finish the pillowcase
Fold the pillowcase in half lengthwise, with right sides facing together, and pin the raw edges together along the side and bottom edges. Sew along the pinned edges using a 1/2 inch seam allowance, backstitching at the beginning and end to secure the stitches. Trim the seam allowance to 1/4 inch and turn the pillowcase right side out.
Press the pillowcase with an iron to smooth out any wrinkles and give it a crisp, professional finish. Your Model 13 pillowcase is now ready to use on your bed or give as a thoughtful handmade gift.
In conclusion, sewing a pillowcase using Model 13 is a simple and enjoyable project that can be completed in just a few hours. With a few basic sewing skills and some quality fabric, you can create a beautiful and personalized pillowcase that will add a touch of charm to any bedroom decor. So why not give it a try and see what you can create with this versatile sewing pattern?


