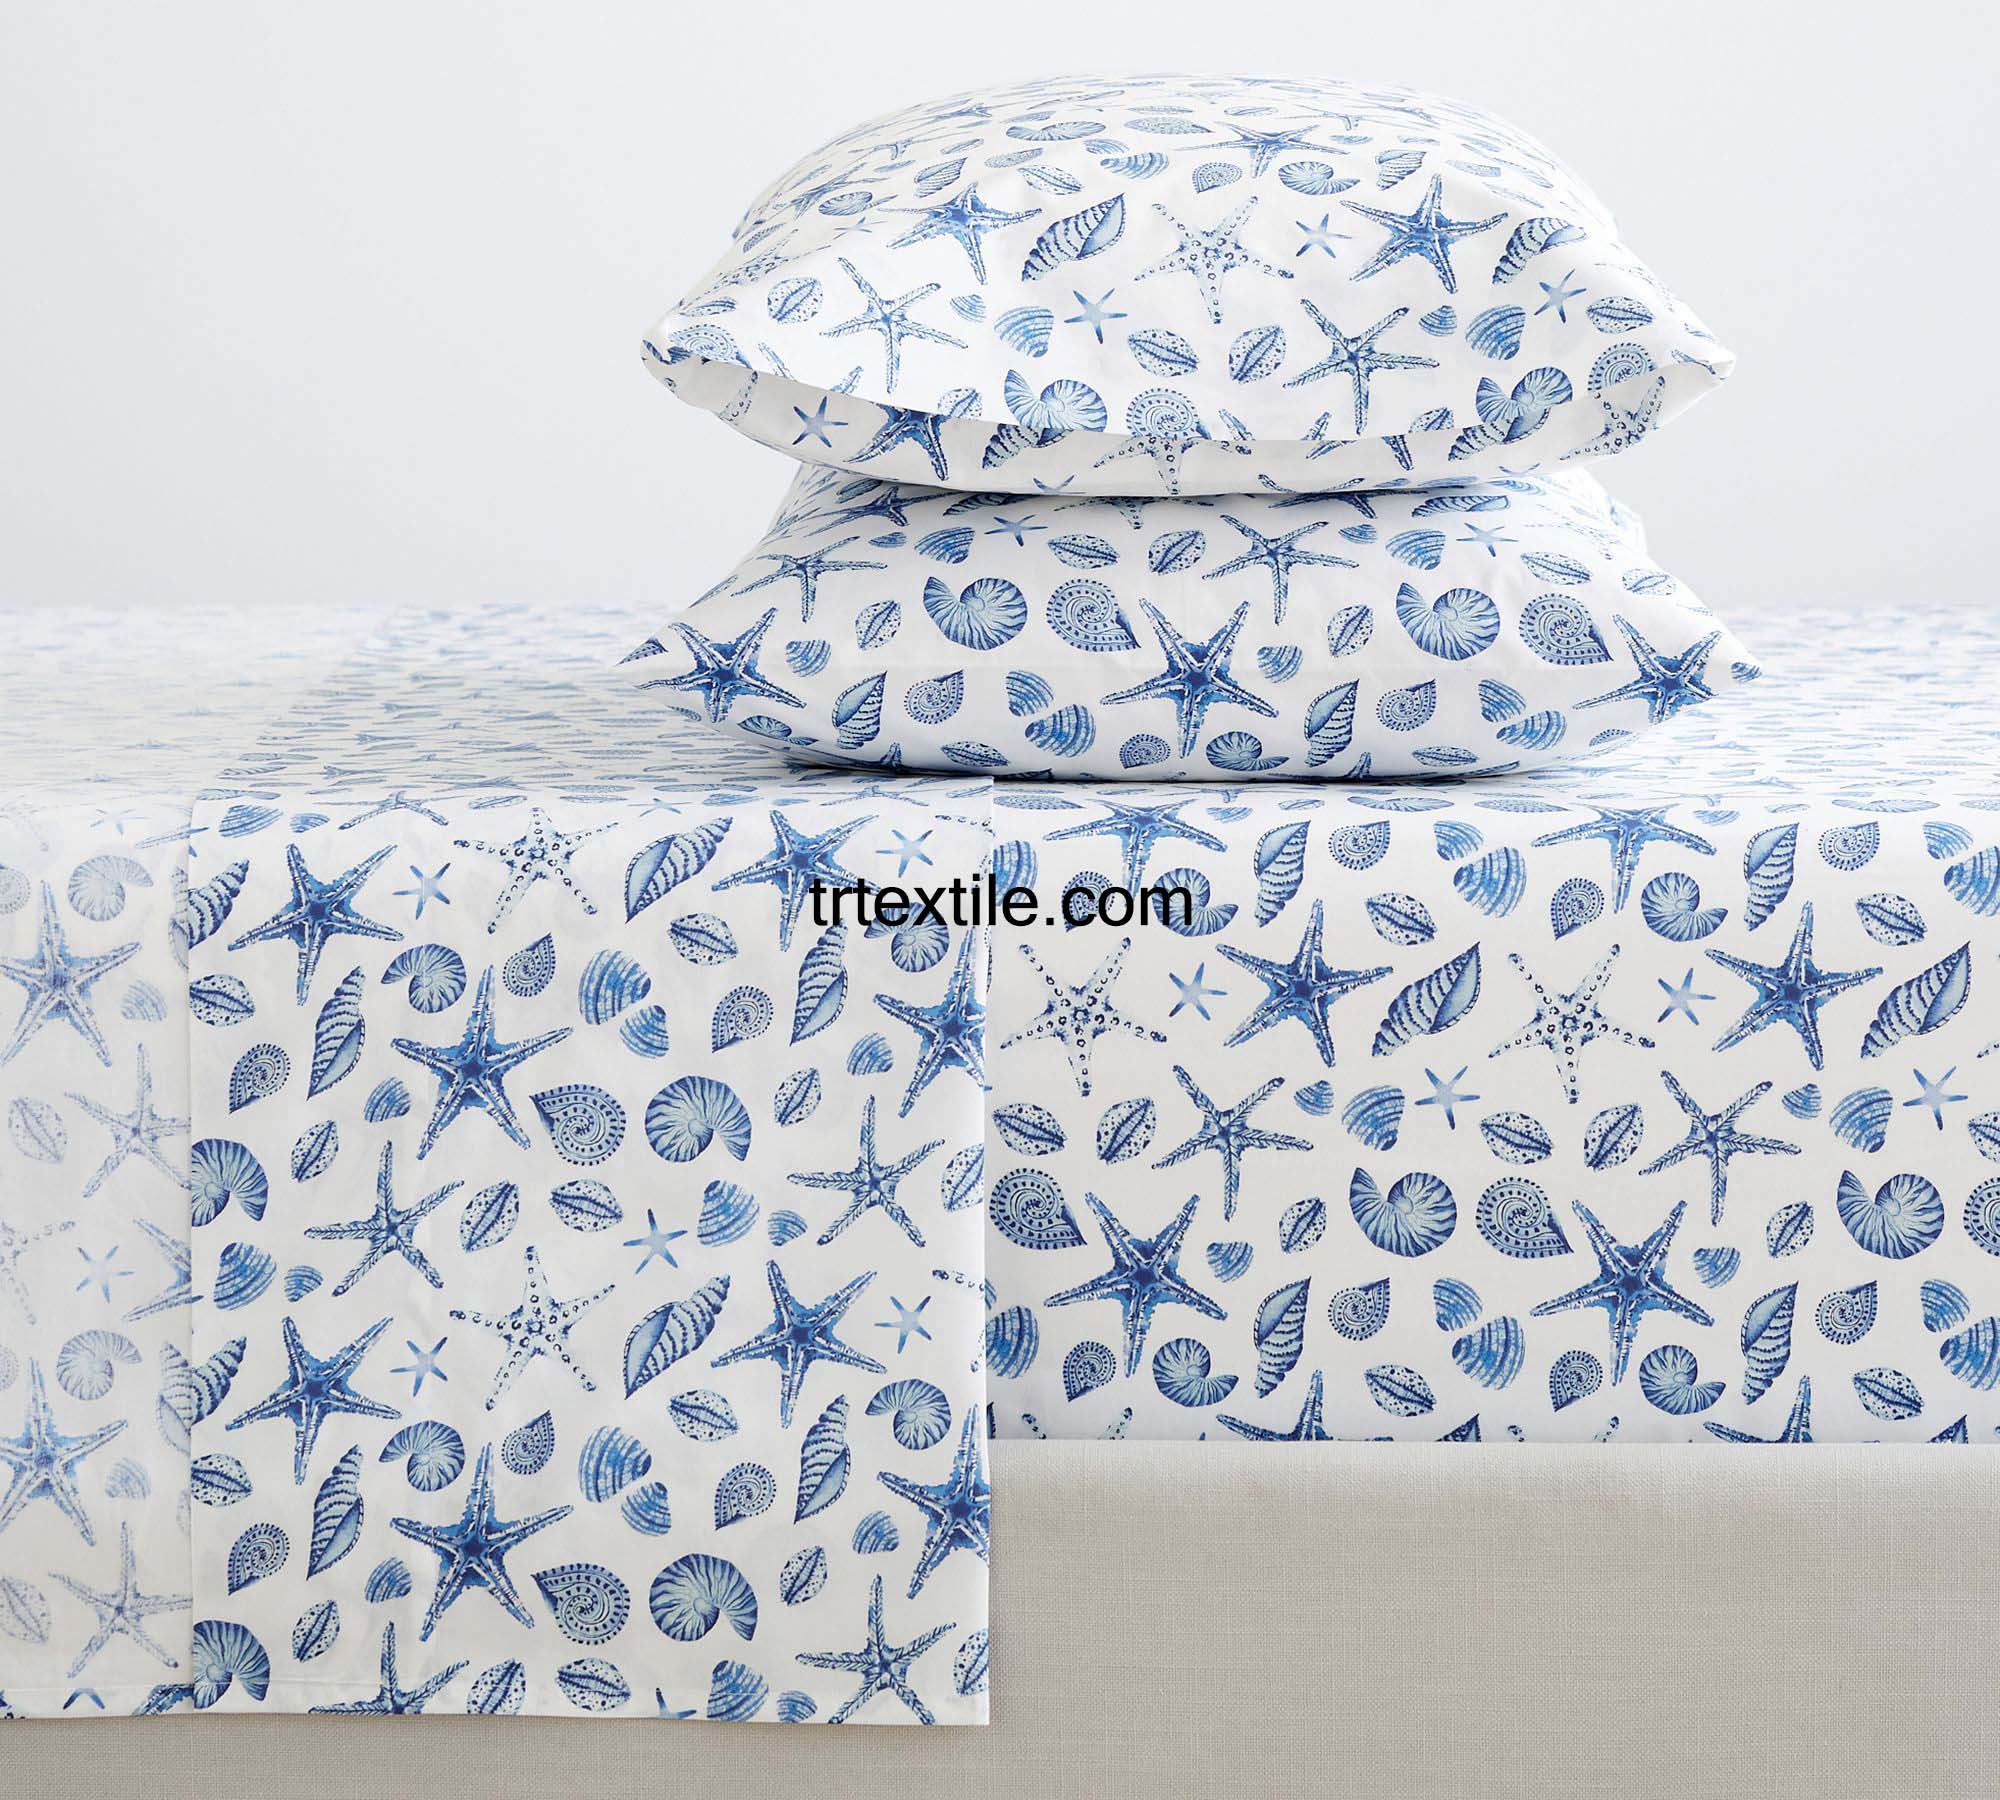
Sewing your own sheet set can be a fun and rewarding project for anyone who loves to sew. Not only will you have the satisfaction of creating something from scratch, but you’ll also have the opportunity to customize your sheets to suit your style and preferences. In this article, we’ll walk you through the process of sewing a basic sheet set, including the materials you’ll need, step-by-step instructions, and some tips for success.
Materials Needed:
– Fabric: You’ll need enough fabric to make a fitted sheet, a flat sheet, and pillowcases. The amount of fabric you’ll need will depend on the size of your bed and the dimensions of your sheets. For a standard queen-sized bed, you’ll need around 6 yards of fabric for the fitted sheet, 4.5 yards for the flat sheet, and 2 yards for the pillowcases.
– Elastic: You’ll need enough elastic to go around the perimeter of your fitted sheet. A standard queen-sized bed typically requires around 4 yards of ¼-inch elastic.
– Thread: You’ll need matching thread to sew your sheets together.
– Sewing machine: A sewing machine is recommended for this project, as it will make the process much faster and easier. However, you can also sew your sheets by hand if you prefer.
Step-by-Step Instructions:
1. Measure and cut your fabric: Start by measuring your bed to determine the dimensions of your sheets. For a standard queen-sized bed, the dimensions are typically 60 inches by 80 inches for the fitted sheet and 90 inches by 102 inches for the flat sheet. Once you have your measurements, cut your fabric to size, adding seam allowances as needed.
2. Sew the fitted sheet: To make the fitted sheet, sew the corners of the fabric together to create a box shape. Then, sew elastic around the perimeter of the sheet, stretching it slightly as you sew to ensure a snug fit on your mattress.
3. Sew the flat sheet: To make the flat sheet, fold and press the edges of the fabric to create a clean hem. Then, sew a straight stitch around the perimeter of the sheet to finish the edges.
4. Sew the pillowcases: To make the pillowcases, fold the fabric in half with right sides together and sew along the sides and bottom edge. Turn the pillowcase right side out and press the seams flat.
5. Finish the sheets: Once you’ve sewn all of your pieces together, give them a final press with an iron to smooth out any wrinkles and ensure a crisp finish.
Tips for Success:
– Take your time and measure carefully to ensure that your sheets fit your bed properly.
– Use a serger or zigzag stitch to finish the raw edges of your fabric to prevent fraying.
– Pre-wash your fabric before sewing to prevent shrinkage after your sheets are finished.
– Experiment with different fabrics and patterns to create a unique set of sheets that reflects your personal style.
In conclusion, sewing your own sheet set is a fun and rewarding project that anyone with basic sewing skills can tackle. By following these step-by-step instructions and tips for success, you’ll be able to create a custom set of sheets that will add a personal touch to your bedroom décor. So grab your fabric and sewing machine and get started on this DIY project today!


