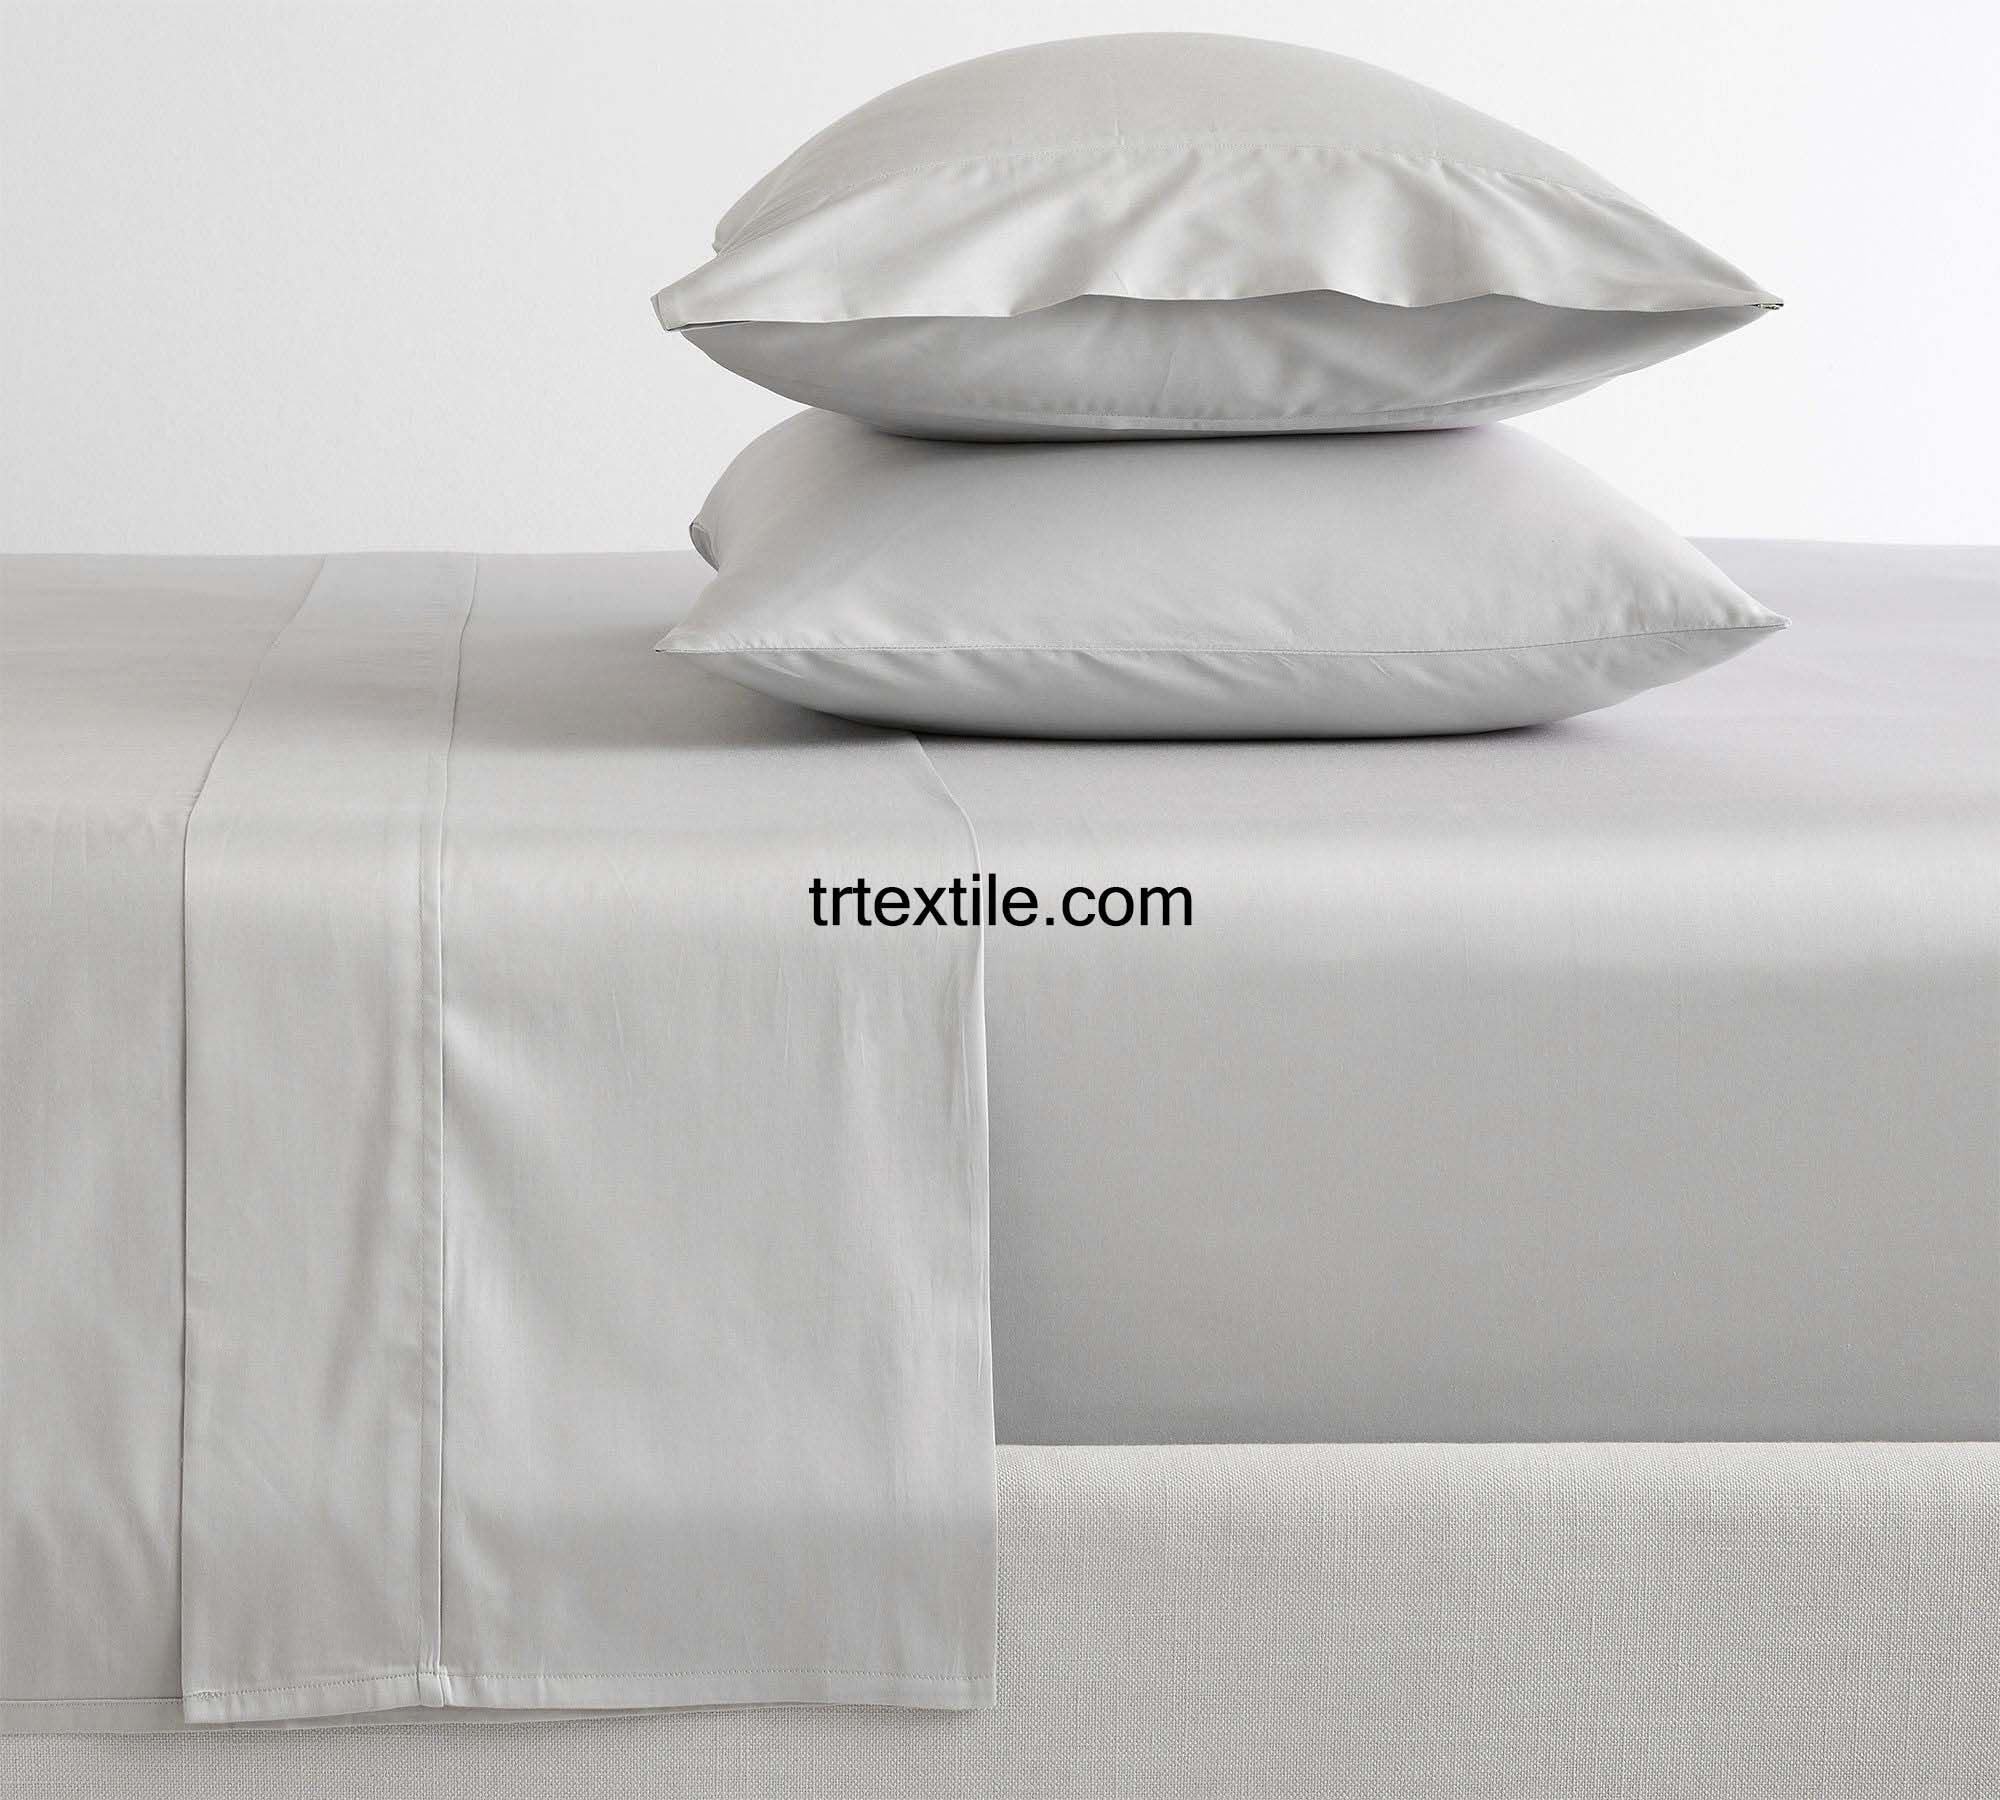
Sewing your own sheet set can be a fun and rewarding project that allows you to customize your bedding to your own personal style and preferences. In this article, we will walk you through the process of making a simple sheet set that includes a fitted sheet, a flat sheet, and one or two pillowcases.
Materials you will need:
– 4-6 yards of fabric for the fitted sheet and flat sheet (the amount will depend on the size of your bed)
– 1-2 yards of fabric for the pillowcase(s)
– Matching thread
– Sewing machine
– Scissors
– Pins
– Measuring tape
Step 1: Measure your bed
Before you start cutting your fabric, you will need to measure your bed to determine the size of your sheets. For a standard queen-sized bed, you will need a fitted sheet that is 60” x 80”, a flat sheet that is 90” x 102”, and two pillowcases that are 20” x 30”. Adjust these measurements accordingly for other bed sizes.
Step 2: Cut your fabric
Using your measurements, cut out the pieces of fabric for your fitted sheet, flat sheet, and pillowcase(s). For the fitted sheet, you will need a piece of fabric that is the width of your mattress plus 2 times the height of the mattress, and the length of the mattress plus 2 times the height of the mattress. For the flat sheet, you will need a piece of fabric that is the width of the mattress plus 2 times the drop length (the distance from the top of the mattress to the floor) and the length of the mattress plus 2 times the drop length. For the pillowcase(s), cut out two pieces of fabric that are 20” x 30”.
Step 3: Sew the fitted sheet
Fold the fabric for the fitted sheet in half lengthwise with right sides together. Sew along the two short sides and one of the long sides using a ½” seam allowance. Leave the remaining long side open. Fold the corners of the sheet so that the seams line up and the corner forms a square. Sew across the corner at a 45-degree angle, about 1” from the point. Trim off the excess fabric and turn the sheet right side out.
Step 4: Sew the flat sheet
Fold and press a 1” hem along the two long sides and one of the short sides of the flat sheet. Sew the hems in place. Fold and press a 2” hem along the remaining short side of the flat sheet. Sew the hem in place.
Step 5: Sew the pillowcase(s)
Fold the fabric for the pillowcase(s) in half with right sides together. Sew along the two short sides and one of the long sides using a ½” seam allowance. Turn the pillowcase(s) right side out.
Step 6: Finish the edges
To prevent fraying, finish the raw edges of the fitted sheet, flat sheet, and pillowcase(s) by either serging the edges or using a zigzag stitch on your sewing machine.
Congratulations, you have now completed your own sheet set! You can now enjoy the satisfaction of sleeping on bedding that you made yourself. Feel free to experiment with different fabrics, colors, and patterns to create a truly unique set of sheets that reflect your personal style. Happy sewing!


